Flat Cap Sewing Tutorial with Pattern

Here is full tutorial on how to sew flat mens cap including drafting a pattern. This elegant men's flat hat can be in women's wardrobe also.
This flat cap sewing tutorial has a proven and exact pattern, having standart mens size (58-60). With this free pattern you will to sew excellently fitting drivers cap.
If you want sew this cap for women or boys I recommend to use stewart tartan or plaid fabrics.
This hat has lining from thin fabric, but if you want, you can insert into the cap a warm fabric. You can add folding inside earflaps to keep ears warm when it's cold.
Consumption of fabric and lining

On this photo shows all parts of the flat cap. But you should consider that you will also need to cut a lining and parts of fusible interfacing also.
Consumption of fabric, lining, fusible interfacing is about 45 cm (17"). You need also a piece of ribbon for addding it inside back part of hat.
Based on my own practical experience, I know that you will need to adjust the hat circumference, which can be more than necessary. The best way to do this is to add a piece of rubber on back a cap (inside).
How to draft a pattern of flat mens cap

In this section there are 4 photos of real size of flat cap pattern.
You need to save these images on your computer and print it.
On each photo there is a scale for checking accuracy of printed pattern.
Set up printer if necessary before printing all parts of the pattern.

Top part of header a flat cap will be printed on two A4-size sheets of paper. You will need an adhesive tape to glue them together along the lines having mark "Connection line".

Note: All details of the cap pattern are given with seam allowances (7 - 10 mm).

This pattern of visor contains a pattern of plastic liner, that is used for inserting between top and bottom parts of visor.
You will need to cut a strip 5 cm wide and 59 - 60 cm long depending on circumference a head.
Note: Grain line should be across the strip!

Before printing all parts of the flat cap, print one sheet (A 4) and check accuracy of size of this detail using the ruler.
With help of adhesive tape it is convenient to glue both parts together.
All cap pieces must be have fusible interfacing

All parts of hat you need duplicate using fusible interfacing. Only a long strip does not need to be double.

Seam allowances should also be kept clean, as shown.
Beginning of sewing a gatsby hat

Start sewing this gatsby hat with joining these details together, as shown.

Next, make finishing stitches on these details, as shown.

Now it's time sew these parts together.

All curve sections need to be notch.

This will allow to do well the finishing stitches along these seams.
How to make a seal layer for visor

Between both parts of visor you need insert some strong material that would hold the shape of visor. The simplest way is using plastic folder.
Note: Size of the plastic gasket is slightly smaller than the visor.
Making a visor of flat cap

First, sew both parts together with seam allowance 7 - 8 mm.

Now take a scissors and trim along the curve 3-4 mm.

Now turn out the visor and insert the plastic layer, as shown.
How to add the brim to the cap

Before adding the visor you should stitch along inner area of visor.
Divide the visor on two part and mark this line.
Pin the visor to the front part of cap.

Now you need to sew along inner area of visor with seam allowance 7mm.
Note: Needle should not pierce this plastic gasket.
This flat cap has a lining fabric

Lining parts are identical to outer parts of cap. Use the cap's pattern for cutting lining.

Now insert a lining into cap and pin it, as shown.

Next, you need to stitch around the edge with seam allowance 7mm.
Last steps of sewing a flat cap

Wrap around a head a narrow strip and mark place where will be sewing it together.
Stitch it together and trim the corners, as shown.

Now you need fold the edge of strip ( 1 - 1.5 cm) and stitch the folded edge on wrong side, as shown.

Pin it with cap.

Now you can to sew this detail on sewing machine.

To make this seam soft you need to trim the allowances around, as shown.

To fasten the strip with cap you need to do finishing stitching (from visor ends only).
Note: Don't sew along the visor!

Based on my own practical experience, I know that you will need to adjust a hat circumference. The best way to do this is to add a piece of elastic strip on back of cap (inside).

During sewing, diameter of cap may stretch. In this case, an elastic strip can be installed inside back of hat.

But if diameter of cap is corresponded to size of head, then you do not need to insert a piece of elastic. You need to fasten the inner strip only along back seams, as shown.

Now flat mens cap is completed. On this photo you see how the hat looks inside.

On this photo you see how looks the flat cap from front side.

Newsboy Cap Tutorial with Pattern
Look at my newsboy cap and may be you will have a desire to make such a hat. Here you find tutorial how to sew newsboy cap and pattern having two sizes.

How to Make Women's Reversible Bucket Hat
Try to sew this woman's bucket hat yourself. It's a super easy and free tutorial helps you sew fine and nice sun hat for yourself or your kid.
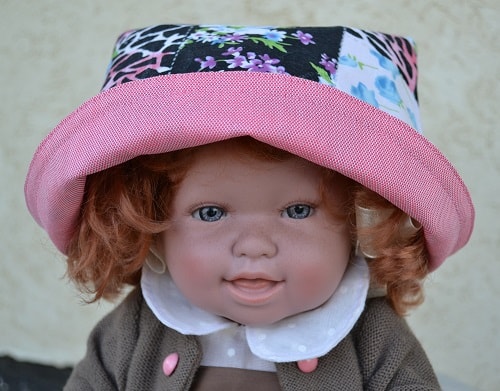
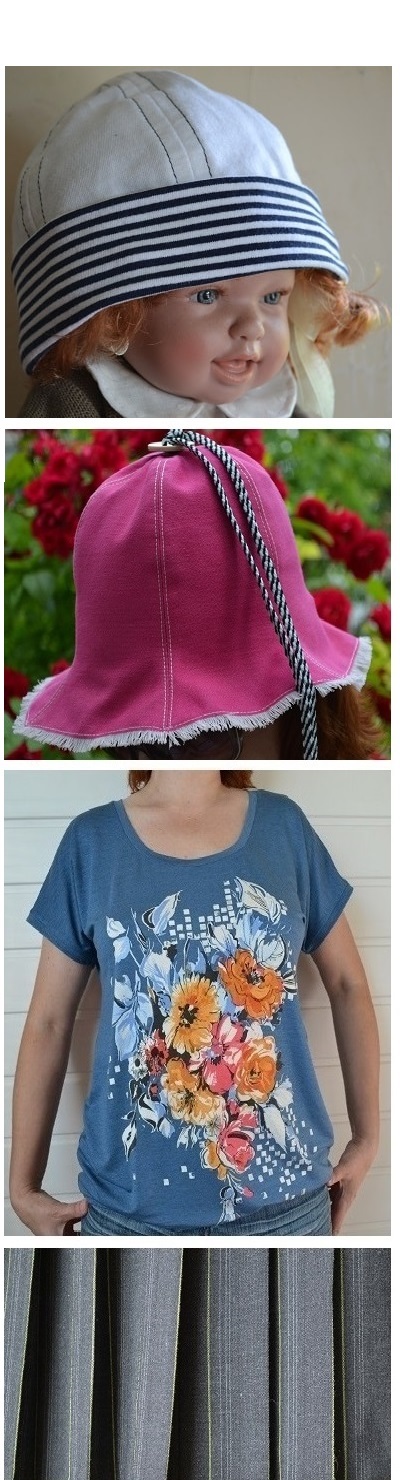
Girls Summer Hat Tutorial
This summer kid's hat looks fine and will be good to protect your baby head from the sun. Try sewing this girl's sun hat using these photos and comments.
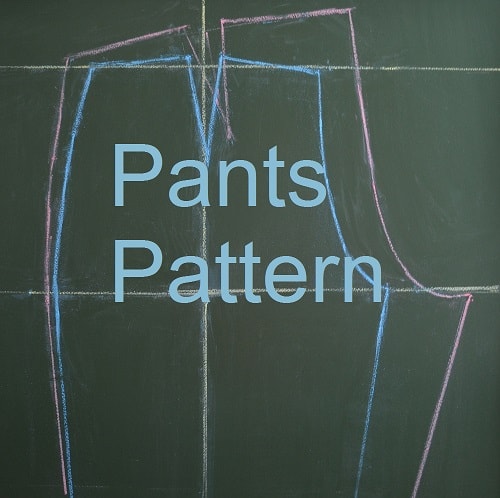
Drafting Women's Pants Patterns (Basic)
If you will draft this pattern of women's pants you will have a basic pattern which can be used for drafting any models trousers, including the jeans and other.
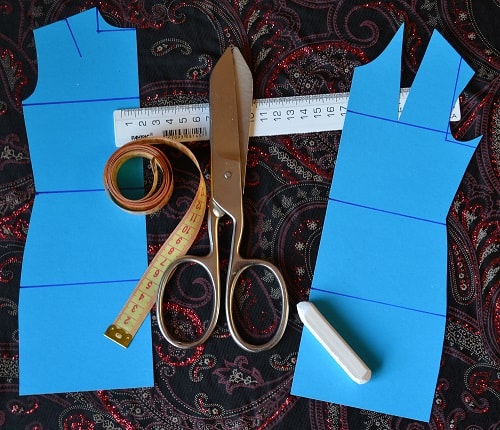
Drafting Dress Pattern (Basic)
If you will draft your own dress pattern you need use this tutorial. Make this basic dress pattern which and you can to build patterns of any other dress models.
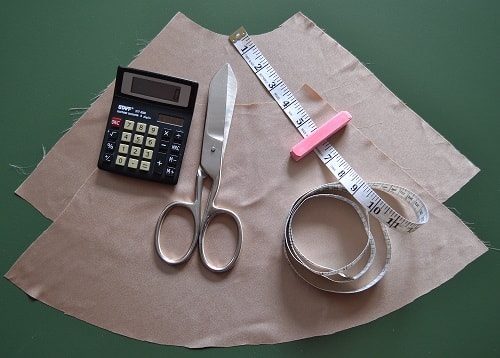
How to Draft the Half Circle Skirt Pattern
In this post you will find free skirt pattern with step-by-step tutorial on how to draft the half circle skirt pattern.
Tutorial How to Make a Pencil Skirt
This is easy and detailed tutorial how to sew your pencil skirt or any other models of the straight skirts.
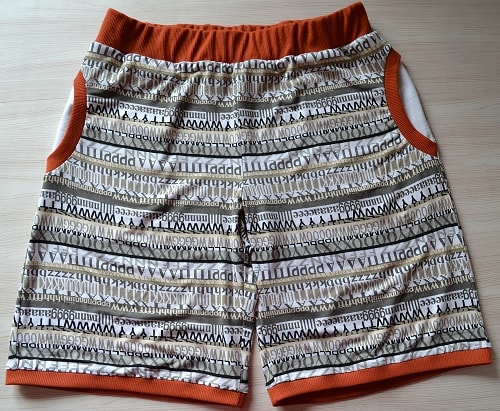
How to Make Jersey Womens Shorts
Here you find 30 photos with pro comments that learn you how to sew women's jersey shorts. Using this tutorial you will be able to sew children's shorts also.
How to Make Jersey Womens T-Shirt
Learn how to sew the women's t-shirts from knit fabrics. Here you find the tutorial how to make jersey t-shirt with 20 photos and pro comments.